UNIT I Concepts of Measurement Measurements( Ref 4, Chapter 1,pg
41 Slides167.00 KB
UNIT I Concepts of Measurement Measurements( Ref 4, Chapter 1,pg no 1-11) Instrumentation( Ref 4, Chapter 1,pg no 1-11) Errors in measurements (Ref 4, Chapter 3,pg no 60) Calibration Standard (Ref 4, Chapter 5,pg no 181) 1
Measurements Measurement: Comparison between a standard and what we want to measure (the measurand). Two quantities are compared the result is expressed in numerical values. 2
Basic requirements for a meaningful measurement The standard used for comparison purposes must be accurately defined and should be commonly accepted. The apparatus used and the method adopted must be provable (verifiable). 3
Two major functions of all branch of engineering Design of equipment and processes Proper Operation and maintenance of equipment and processes. 4
Methods of Measurement Direct Methods Indirect Methods 5
DIRECT METHODS: In these methods, the unknown quantity (called the measurand ) is directly compared against a standard. INDIRECT METHOD: Measurements by direct methods are not always possible, feasible and practicable. In engineering applications measurement systems are used which require need of indirect method for measurement purposes. 6
Instruments and Measurement Systems. Measurement involve the use of instruments as a physical means of determining quantities or variables. Because of modular nature of the elements within it, it is common to refer the measuring instrument as a MEASUREMENT SYSTEM. 7
Evolution of Instruments. a) Mechanical b) Electrical c) Electronic Instruments. MECHANICAL: These instruments are very reliable for static and stable conditions. But their disadvantage is that they are unable to respond rapidly to measurements of dynamic and transient conditions. 8
Contd ELECTRICAL: It is faster than mechanical, indicating the output are rapid than mechanical methods. But it depends on the mechanical movement of the meters. The response is 0.5 to 24 seconds. ELECTRONIC: It is more reliable than other system. It uses semiconductor devices and weak signal can also be detected. 9
Classification Of Instruments Absolute Instruments. Secondary Instruments. ABSOLUTE: These instruments give the magnitude if the quantity under measurement terms of physical constants of the instrument. SECONDARY: These instruments are calibrated by the comparison with absolute instruments which have already been calibrated. 10
Further its classified as Deflection Type Instruments Null Type Instruments. 11
Functions of instrument and measuring system can be classified into three. They are: i) Indicating function. ii) Recording function. iii) Controlling function. Application of measurement systems are: i) Monitoring of process and operation. ii) Control of processes and operation. iii) Experimental engineering analysis. 12
Types Of Instrumentation System Intelligent Instrumentation (data has been refined for the purpose of presentation ) Dumb Instrumentation (data must be processed by the observer) 13
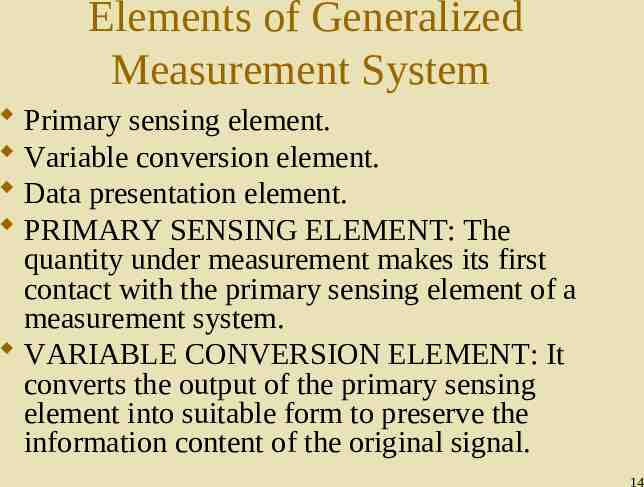
Elements of Generalized Measurement System Primary sensing element. Variable conversion element. Data presentation element. PRIMARY SENSING ELEMENT: The quantity under measurement makes its first contact with the primary sensing element of a measurement system. VARIABLE CONVERSION ELEMENT: It converts the output of the primary sensing element into suitable form to preserve the information content of the original signal. 14
Contd. DATA PRESENTATION ELEMENT: The information about the quantity under measurement has to be conveyed to the personnel handling the instrument or the system for monitoring, control or analysis purpose. 15
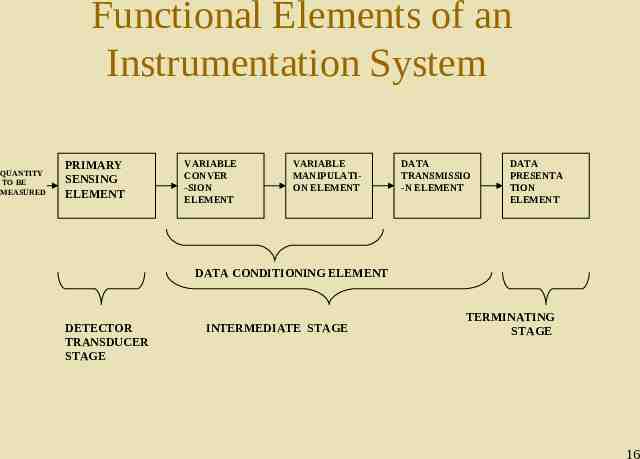
Functional Elements of an Instrumentation System QUANTITY TO BE MEASURED PRIMARY SENSING ELEMENT VARIABLE CONVER -SION ELEMENT VARIABLE MANIPULATION ELEMENT DATA TRANSMISSIO -N ELEMENT DATA PRESENTA TION ELEMENT DATA CONDITIONING ELEMENT DETECTOR TRANSDUCER STAGE INTERMEDIATE STAGE TERMINATING STAGE 16
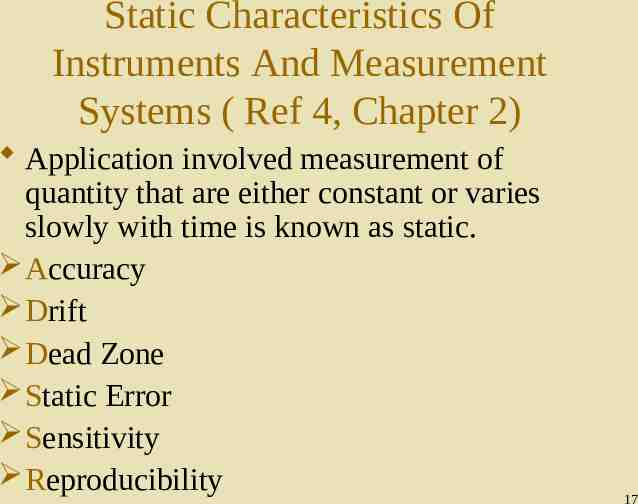
Static Characteristics Of Instruments And Measurement Systems ( Ref 4, Chapter 2) Application involved measurement of quantity that are either constant or varies slowly with time is known as static. Accuracy Drift Dead Zone Static Error Sensitivity Reproducibility 17
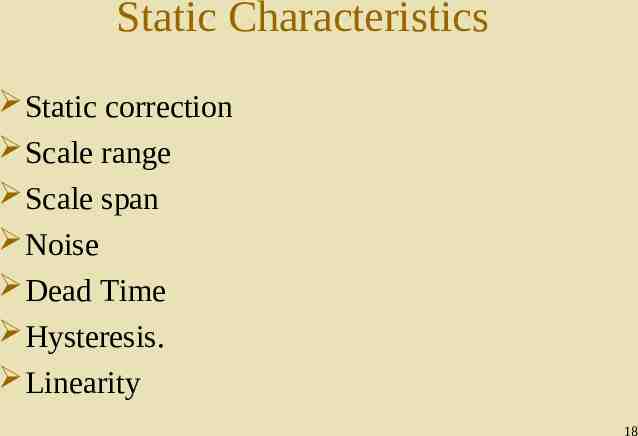
Static Characteristics Static correction Scale range Scale span Noise Dead Time Hysteresis. Linearity 18
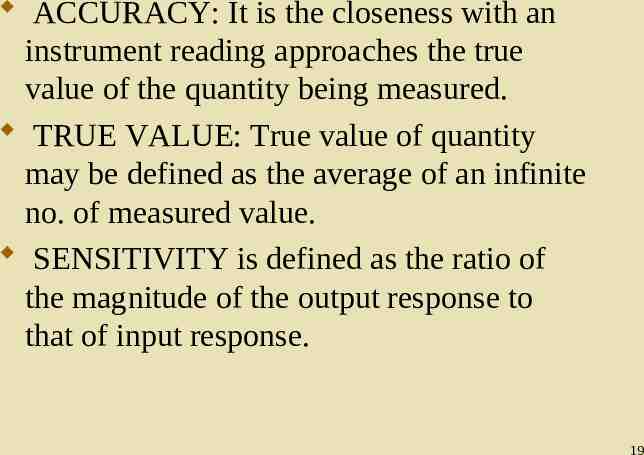
ACCURACY: It is the closeness with an instrument reading approaches the true value of the quantity being measured. TRUE VALUE: True value of quantity may be defined as the average of an infinite no. of measured value. SENSITIVITY is defined as the ratio of the magnitude of the output response to that of input response. 19
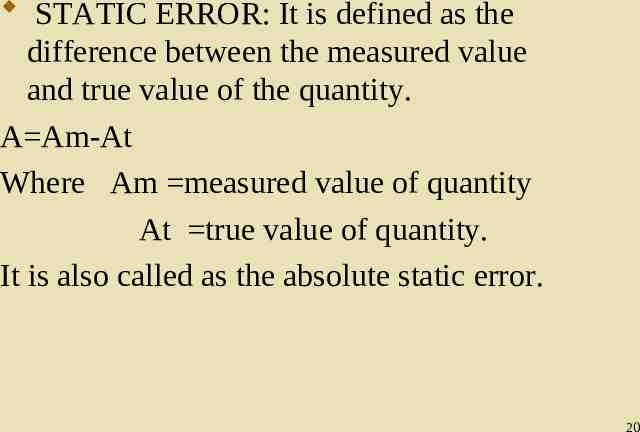
STATIC ERROR: It is defined as the difference between the measured value and true value of the quantity. A Am-At Where Am measured value of quantity At true value of quantity. It is also called as the absolute static error. 20
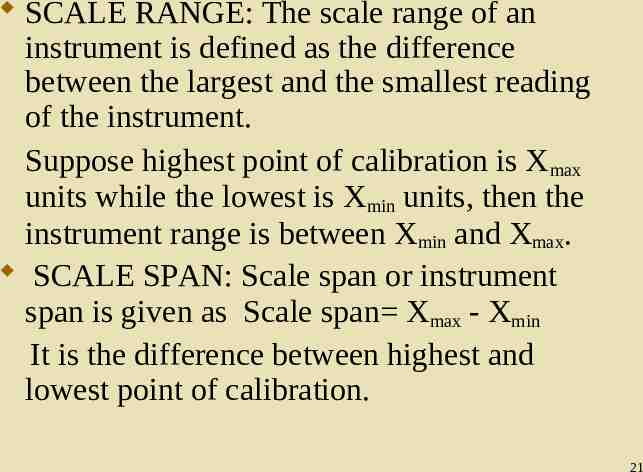
SCALE RANGE: The scale range of an instrument is defined as the difference between the largest and the smallest reading of the instrument. Suppose highest point of calibration is X max units while the lowest is Xmin units, then the instrument range is between Xmin and Xmax. SCALE SPAN: Scale span or instrument span is given as Scale span Xmax - Xmin It is the difference between highest and lowest point of calibration. 21
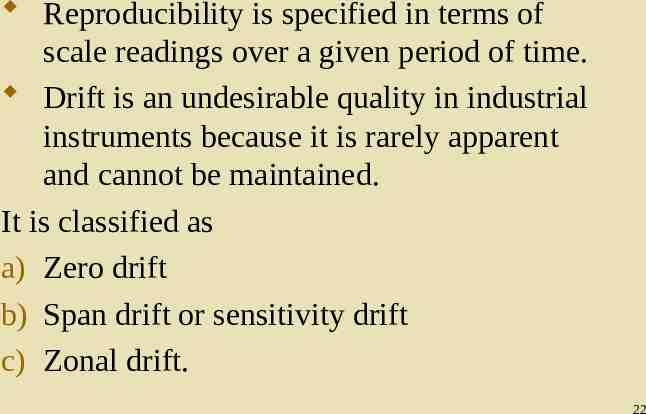
Reproducibility is specified in terms of scale readings over a given period of time. Drift is an undesirable quality in industrial instruments because it is rarely apparent and cannot be maintained. It is classified as a) Zero drift b) Span drift or sensitivity drift c) Zonal drift. 22
Dynamic Characteristics of Measurement System ( Ref 4, Chapter 4) Speed of response Measuring lag Fidelity Dynamic error 23
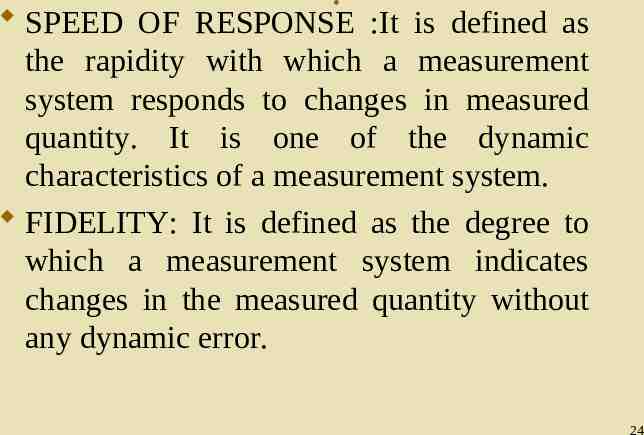
. SPEED OF RESPONSE :It is defined as the rapidity with which a measurement system responds to changes in measured quantity. It is one of the dynamic characteristics of a measurement system. FIDELITY: It is defined as the degree to which a measurement system indicates changes in the measured quantity without any dynamic error. 24
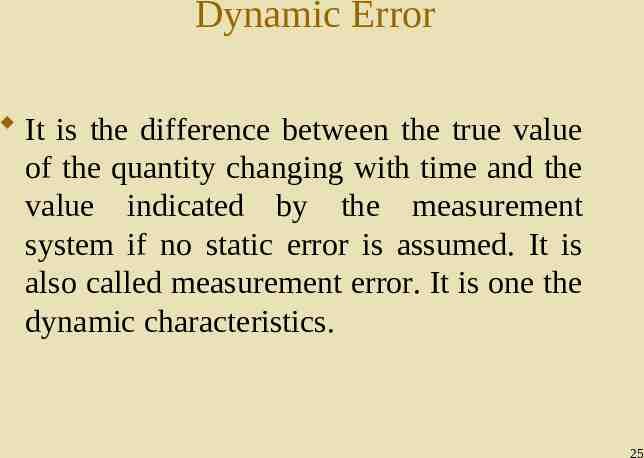
Dynamic Error It is the difference between the true value of the quantity changing with time and the value indicated by the measurement system if no static error is assumed. It is also called measurement error. It is one the dynamic characteristics. 25
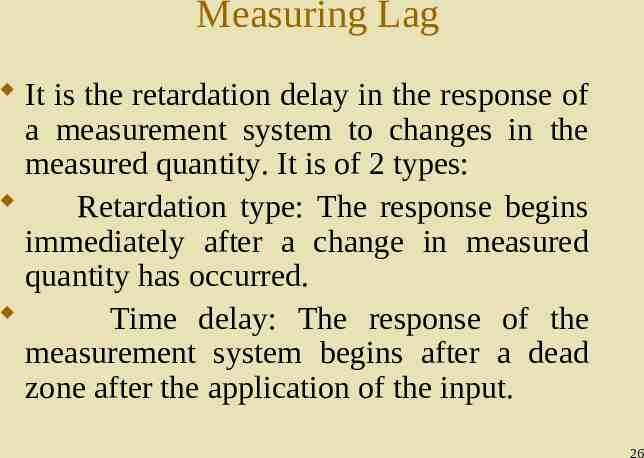
Measuring Lag It is the retardation delay in the response of a measurement system to changes in the measured quantity. It is of 2 types: Retardation type: The response begins immediately after a change in measured quantity has occurred. Time delay: The response of the measurement system begins after a dead zone after the application of the input. 26
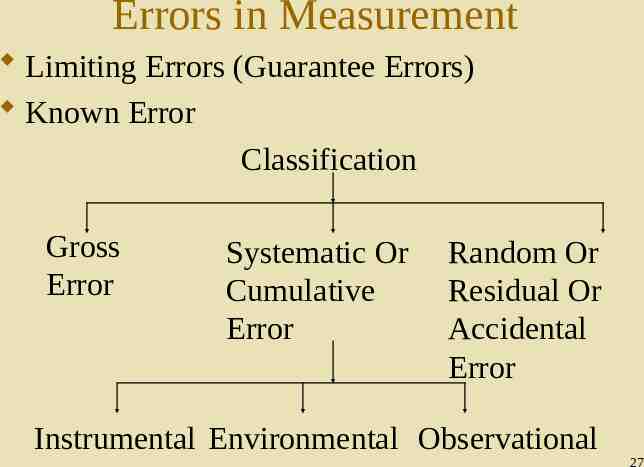
Errors in Measurement Limiting Errors (Guarantee Errors) Known Error Classification Gross Error Systematic Or Cumulative Error Random Or Residual Or Accidental Error Instrumental Environmental Observational 27
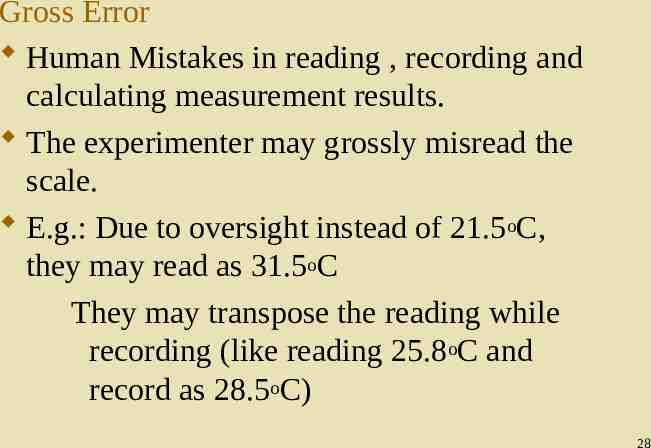
Gross Error Human Mistakes in reading , recording and calculating measurement results. The experimenter may grossly misread the scale. E.g.: Due to oversight instead of 21.5oC, they may read as 31.5oC They may transpose the reading while recording (like reading 25.8oC and record as 28.5oC) 28
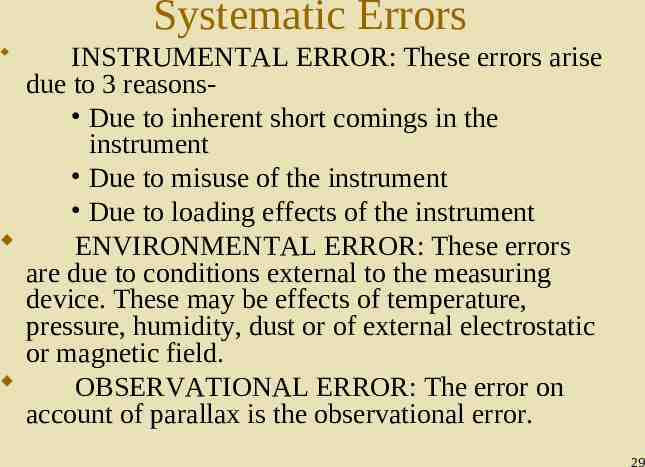
Systematic Errors INSTRUMENTAL ERROR: These errors arise due to 3 reasons Due to inherent short comings in the instrument Due to misuse of the instrument Due to loading effects of the instrument ENVIRONMENTAL ERROR: These errors are due to conditions external to the measuring device. These may be effects of temperature, pressure, humidity, dust or of external electrostatic or magnetic field. OBSERVATIONAL ERROR: The error on account of parallax is the observational error. 29
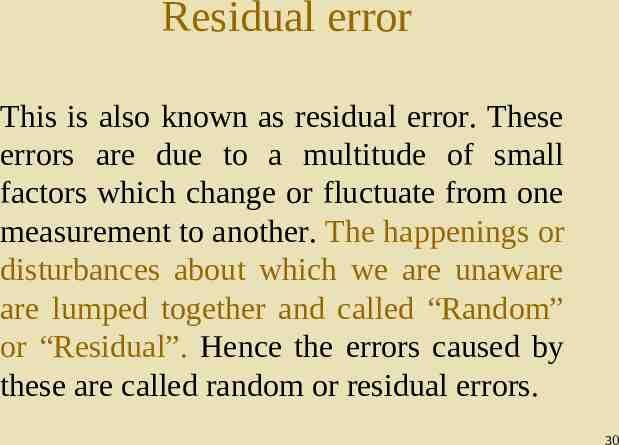
Residual error This is also known as residual error. These errors are due to a multitude of small factors which change or fluctuate from one measurement to another. The happenings or disturbances about which we are unaware are lumped together and called “Random” or “Residual”. Hence the errors caused by these are called random or residual errors. 30
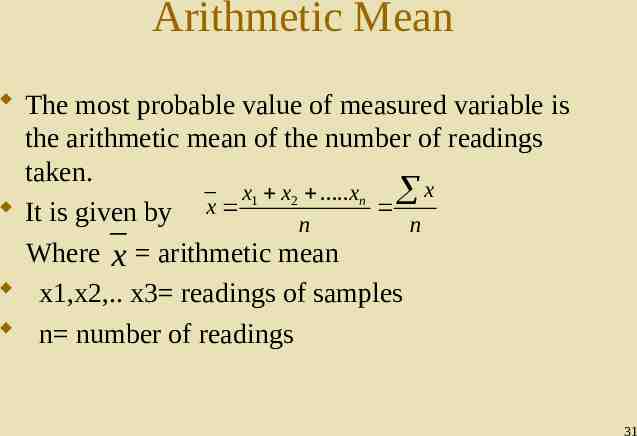
Arithmetic Mean The most probable value of measured variable is the arithmetic mean of the number of readings taken. x1 x2 .xn x It is given by x n n Where x arithmetic mean x1,x2,. x3 readings of samples n number of readings 31
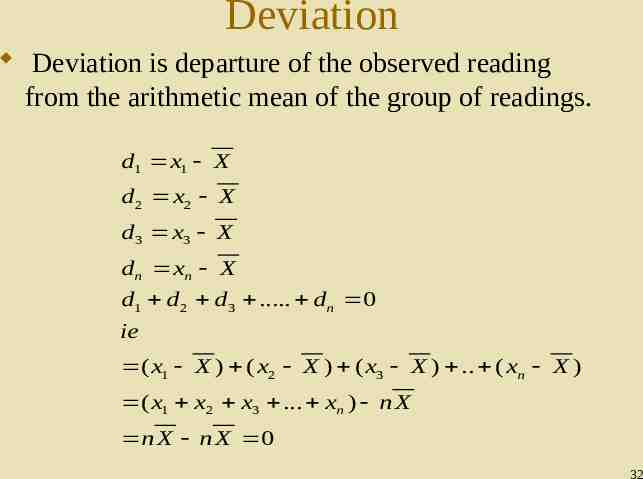
Deviation Deviation is departure of the observed reading from the arithmetic mean of the group of readings. d1 x1 X d 2 x2 X d 3 x3 X d n xn X d1 d 2 d 3 . d n 0 ie ( x1 X ) ( x2 X ) ( x3 X ) . ( xn X ) ( x1 x2 x3 . xn ) n X n X n X 0 32
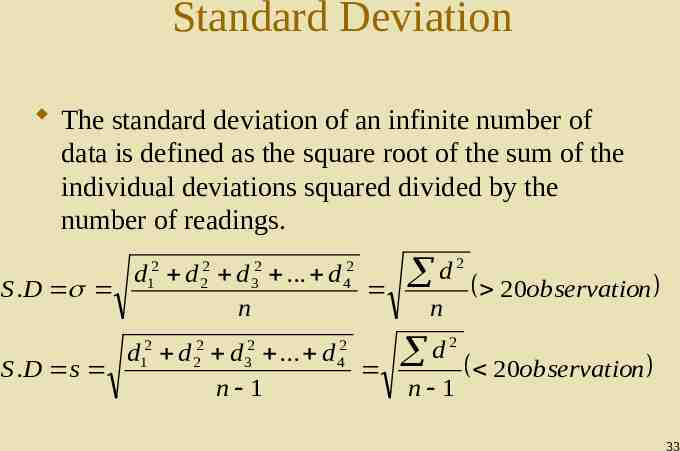
Standard Deviation The standard deviation of an infinite number of data is defined as the square root of the sum of the individual deviations squared divided by the number of readings. 2 1 2 2 2 3 d d d . d S .D n S .D s 2 1 2 2 2 3 d d d . d n 1 2 4 2 4 2 d n 2 d n 1 20observation 20observation 33
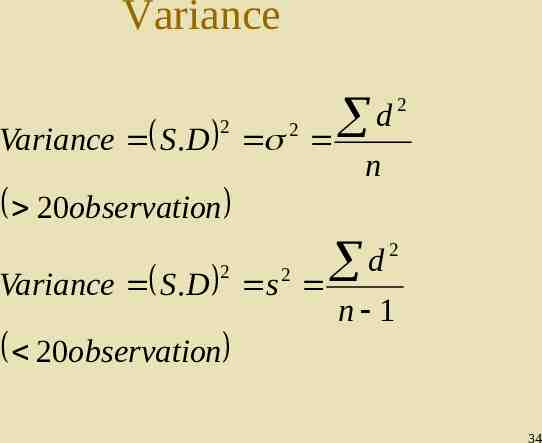
Variance 2 Variance S .D 2 d 2 n 20observation 2 Variance S .D s 2 d 2 n 1 20observation 34
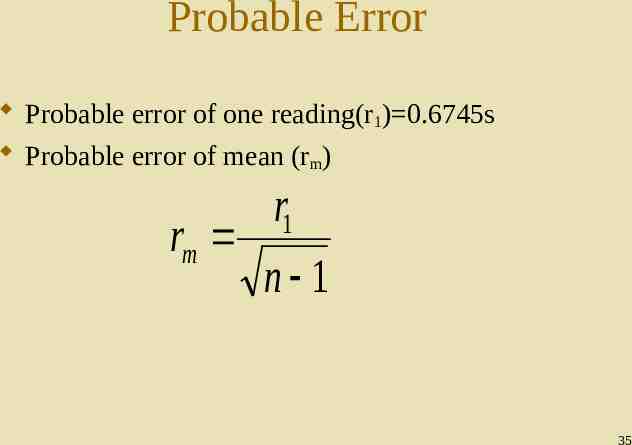
Probable Error Probable error of one reading(r1) 0.6745s Probable error of mean (rm) r1 rm n 1 35
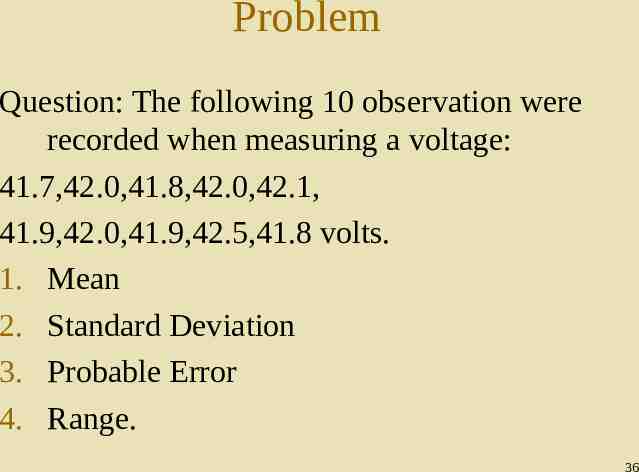
Problem Question: The following 10 observation were recorded when measuring a voltage: 41.7,42.0,41.8,42.0,42.1, 41.9,42.0,41.9,42.5,41.8 volts. 1. Mean 2. Standard Deviation 3. Probable Error 4. Range. 36
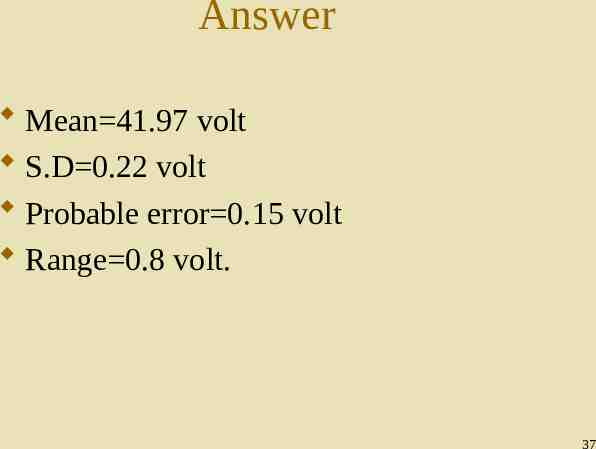
Answer Mean 41.97 volt S.D 0.22 volt Probable error 0.15 volt Range 0.8 volt. 37
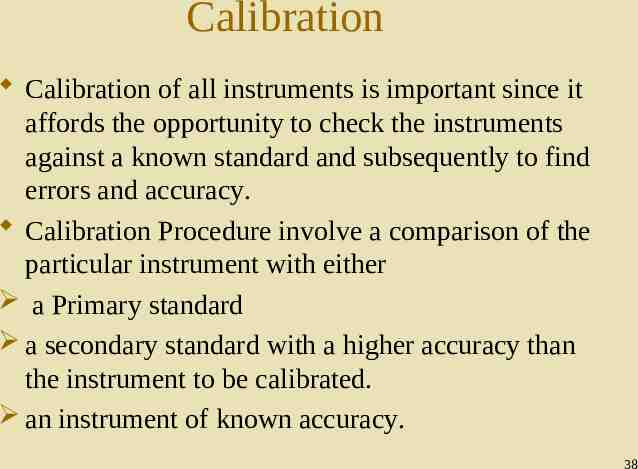
Calibration Calibration of all instruments is important since it affords the opportunity to check the instruments against a known standard and subsequently to find errors and accuracy. Calibration Procedure involve a comparison of the particular instrument with either a Primary standard a secondary standard with a higher accuracy than the instrument to be calibrated. an instrument of known accuracy. 38
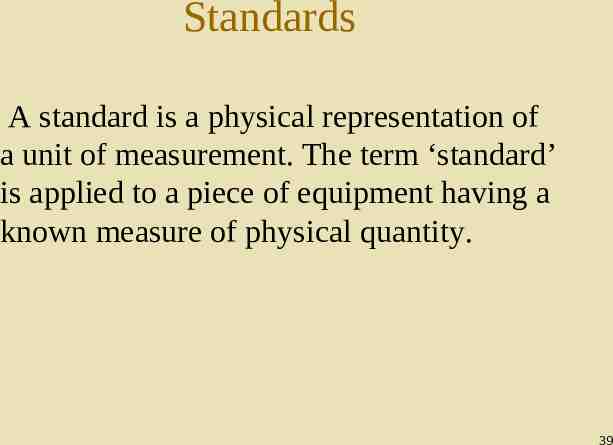
Standards A standard is a physical representation of a unit of measurement. The term ‘standard’ is applied to a piece of equipment having a known measure of physical quantity. 39
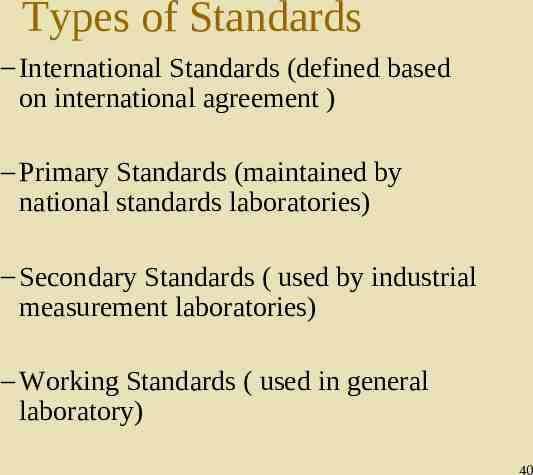
Types of Standards – International Standards (defined based on international agreement ) – Primary Standards (maintained by national standards laboratories) – Secondary Standards ( used by industrial measurement laboratories) – Working Standards ( used in general laboratory) 40
THANK YOU 41
