Non Destructive Examination (NDE)
23 Slides231.50 KB
Non Destructive Examination (NDE)
Non Destructive Examination (NDE) Non Destructive Examination is the act of evaluating a welded component (or material to be welded) without affecting the serviceability of the part or material.
NDE All Welds have flaws. Another name for a flaw is a discontinuity Discontinuities are interruptions in the normal crystalline structure (or grain) of the metal. Discontinuities are NOT always defects
NDE The purpose of welding inspections is to locate and determine the size of any discontinuities Discontinuities that are to large or repeat too often within the weld become defects Defects will compromise the welds overall strength
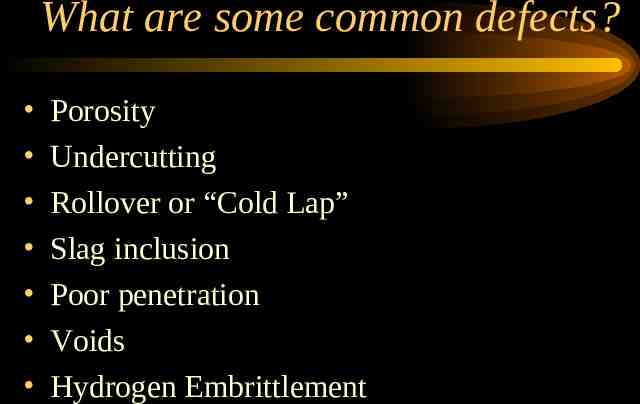
What are some common defects? Porosity Undercutting Rollover or “Cold Lap” Slag inclusion Poor penetration Voids Hydrogen Embrittlement
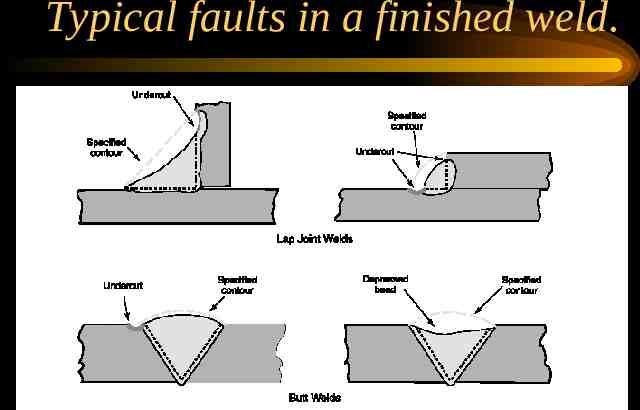
Typical faults in a finished weld.
How would you find these faults ? Non Destructive Examination NDE
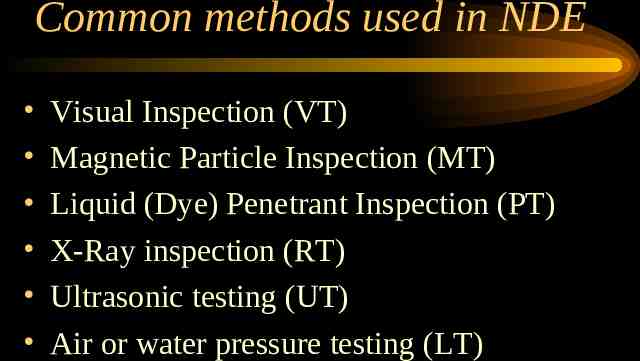
Common methods used in NDE Visual Inspection (VT) Magnetic Particle Inspection (MT) Liquid (Dye) Penetrant Inspection (PT) X-Ray inspection (RT) Ultrasonic testing (UT) Air or water pressure testing (LT)
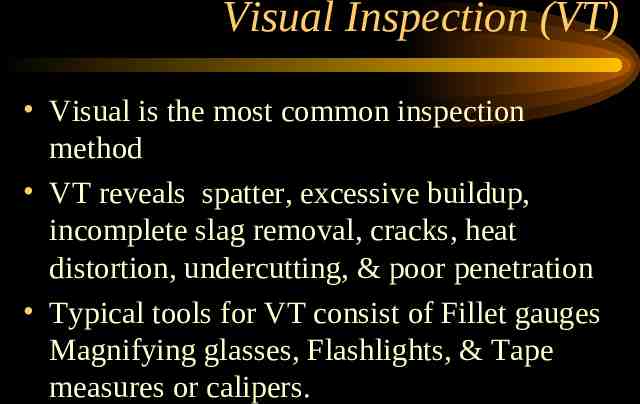
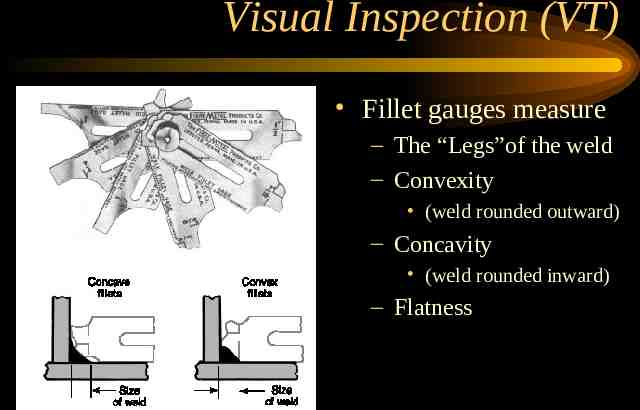
Visual Inspection (VT) Visual is the most common inspection method VT reveals spatter, excessive buildup, incomplete slag removal, cracks, heat distortion, undercutting, & poor penetration Typical tools for VT consist of Fillet gauges Magnifying glasses, Flashlights, & Tape measures or calipers.
Visual Inspection (VT) Fillet gauges measure – The “Legs”of the weld – Convexity (weld rounded outward) – Concavity (weld rounded inward) – Flatness
Magnetic Particle Inspection (MT) Magnetic Particle Inspection (commonly referred to as Magnaflux testing) is only effective at checking for flaws located at or near the surface. MT uses a metallic power or liquid along with strong magnetic field probes to locate flaws. (Particles will align along voids) MT can only be used on materials that can be magnetized
Liquid (Dye) Penetrant Inspection (PT) Liquid penetrant inspection uses colored or fluorescent dye to check for surface flaws. PT will not show sub-surface flaws. PT can be used on both metallic and non metallic surfaces such as ceramic, glass, plastic, and metal. PT dose not require the part to be Magnetized.
X-Ray inspection (RT) Welds may be checked for internal discontinuities my means of X- Rays An X-Ray is a wave of energy that will pass through most materials and develop the negative image of what it passes through on film. A Radiograph ( X-Ray picture) is a permanent record of a weld used for quality inspection purposes RT inspections can reveal flaws deep within a component
Ultrasonic testing (UT) Ultrasonic testing (UT) is a method of determining the size and location of discontinuities within a component using high frequency sound waves. Sound waves are sent through a transducer into the material and the shift in time require for their return or echo is plotted. Ultrasonic waves will not travel through air therefore flaws will alter the echo pattern.
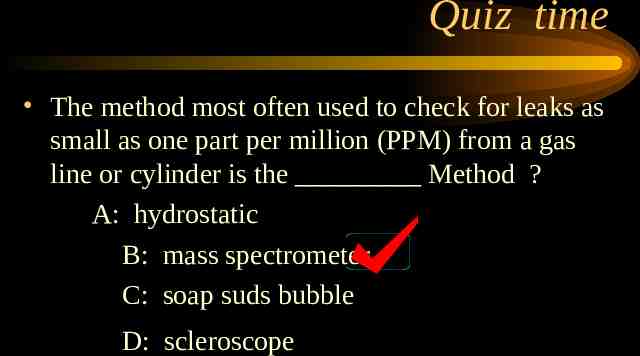
Air or water pressure testing (LT) Pressure testing or leak testing can be performed with either gasses or liquids. Voids that allow gasses or liquids to escape from the component can be classified as gross (large) or fine leaks. Extremely small gas leaks measured in PPM (parts per million) require a “Mass Spectrometer” to Sniff for tracer gases
Quiz time True or False ? Dye penetrate inspections can only be used on non magnetic material. Answer: False
Quiz time True or False ? X-Rays can only be used to locate flaws at or near the surface of a weld. Answer: False
Quiz time True or False ? Virtually all welds have flaws. Answer: True
Quiz time True or False ? Magnetic particle testing can only detect flaws at or near the surface. Answer: True
Quiz time True or False ? Magnet particle testing can only be done on materials that can be magnetized. Answer: True
Quiz time The letters NDE Mean ? A: nondestructive inspection B: nondestructive evaluation C: nondisruptive evaluation D: nondestructive examination
Quiz time The method most often used to check for leaks as small as one part per million (PPM) from a gas line or cylinder is the Method ? A: hydrostatic B: mass spectrometer C: soap suds bubble D: scleroscope
Modern Welding York County School of Technology
